
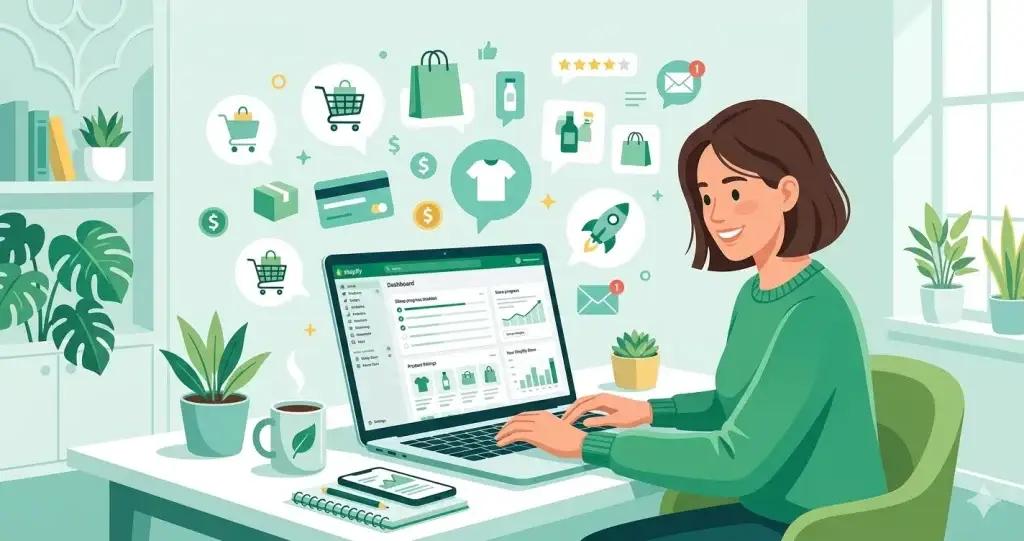
Build a Shopify Store in 2026: Complete Beginner’s Guide (Free) In 2026, over 4.4 million businesses worldwide are selling on Shopify — and most of them started with zero experience, zero coding skills, and a tight budget.
The honest truth? Setting up a Shopify store is not as complicated as most guides make it sound. You don’t need a developer, you don’t need a big budget, and you don’t need to spend weeks figuring things out.
This guide walks you through every single step — from creating your account to making your first sale. If you follow along, you can have a working store ready in under a day.
What is Shopify and Why Should You Use It?
Shopify is a platform that lets you build a complete online store without touching a single line of code. It handles your hosting, security, payments, and store design — all in one place.
Here is why beginners prefer it over other platforms:
- You don’t need to hire a developer
- Everything is managed from one simple dashboard
- Payments, shipping, and taxes are built in
- Thousands of themes and apps are available
- It works on mobile out of the box
The only real downside? It costs money. Let’s talk about that first before you get started.
Shopify Pricing Plans (2026)
A lot of guides skip this part, but it’s the first thing you should know.
| Plan | Monthly Cost | Best For |
|---|---|---|
| Basic | $39/month | New stores, beginners |
| Shopify | $105/month | Growing stores |
| Advanced | $399/month | High-volume sellers |
| Starter | $5/month | Selling via social only |
Good news: Shopify offers a 3-day free trial with no credit card needed. After that, you can get your first month for just $1 under their current promotion.
For most beginners, the Basic plan is more than enough to start.
Step 1: Create Your Shopify Account
Go to shopify.com and click “Start free trial.”
You will need:
- A working email address
- A store name
- Basic details about your business
Picking your store name: This matters more than people think. Your store name becomes part of your default URL (yourstore.myshopify.com) and it shows up everywhere — emails, invoices, packaging. Pick something short, easy to spell, and relevant to what you sell.
Avoid generic names like “BestShop2026” or “OnlineStore.” Instead, combine your niche with a unique word — something like “BrewNest” for coffee products or “LuxeThread” for clothing.
Once you sign up, you land on your Shopify dashboard. This is your control center for everything.
Check This to create shopify account
Step 2: Choose a Theme for Your Store
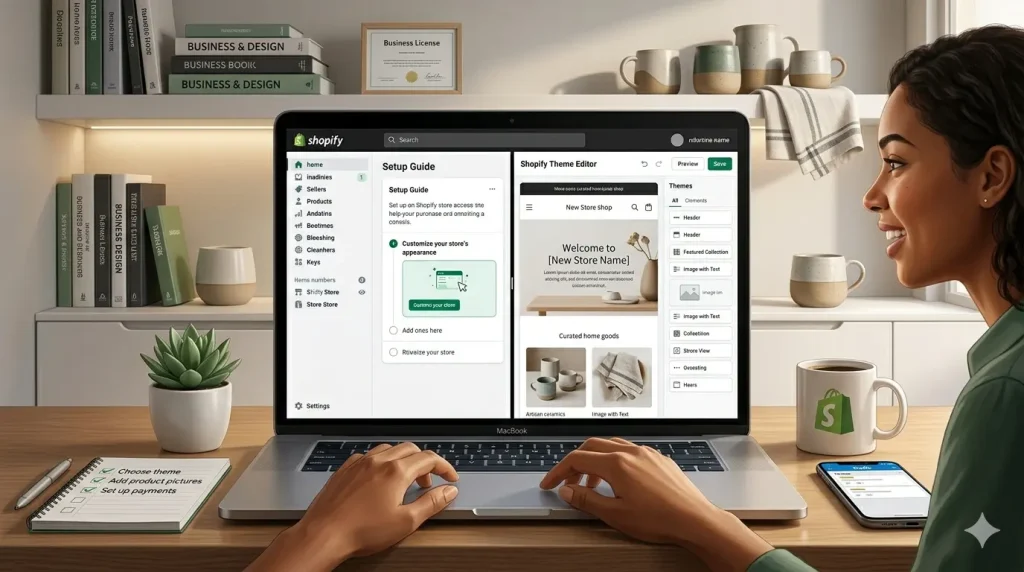
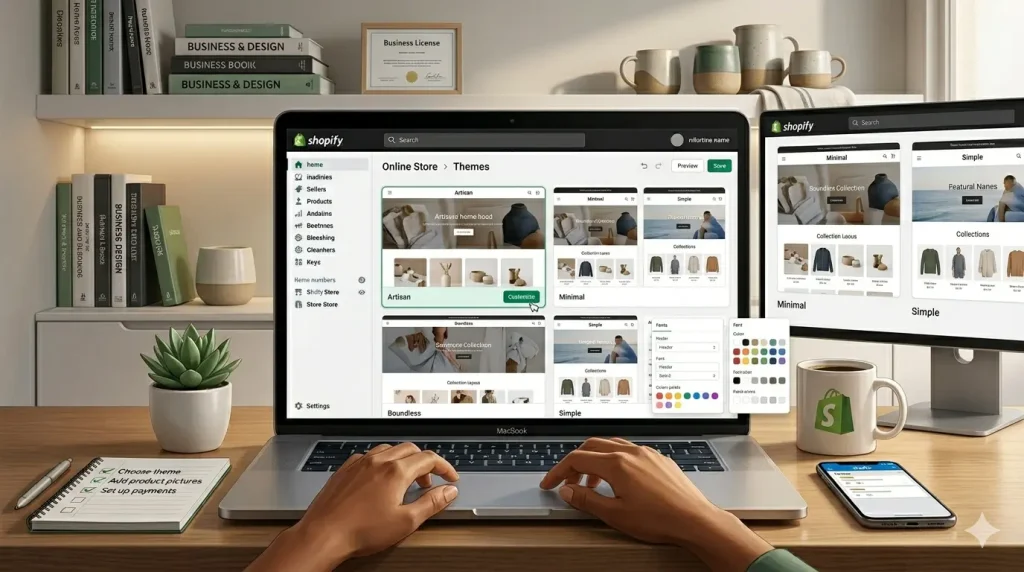
Before adding products, your store needs a look. Shopify calls these “themes” and you access them from the Online Store section.
Shopify gives you free themes like Dawn, Craft, and Sense — these are genuinely good and used by real successful stores. Paid themes cost between $180–$350 one time.
For beginners, start with a free theme. You can always upgrade later.
When choosing, focus on:
- Speed — slower themes hurt your Google ranking
- Mobile layout — over 70% of shoppers browse on phones
- How many sections it offers — more sections = more flexibility
- Does it match your product type — a minimal theme works for jewelry, a bold theme works for streetwear
Recommended free themes by niche:
- Fashion / Clothing → Sense or Craft
- Electronics / Tech → Dawn
- Home decor / Lifestyle → Crave
- General store → Dawn (most popular, very clean)
Step 3: Customize Your Store Design
Once you pick a theme, click “Customize” to open Shopify’s drag-and-drop editor.
The things you should set up here:
Homepage sections to add:
- Hero banner — your main offer or best product with a strong headline
- Featured products — 3 to 6 of your best items
- About section — one or two lines about your store’s story
- Trust badges — icons showing secure checkout, free returns, etc.
- Customer reviews — even 3 or 4 reviews make a big difference
Branding basics to set:
- Upload your logo (use Canva to make one for free)
- Set your brand colors (stick to 2–3 colors max)
- Choose fonts that match your brand personality
One thing most beginners miss: add a favicon. That tiny icon that shows in browser tabs makes your store look professional. It takes 30 seconds to add.
Step 4: Add Your Products
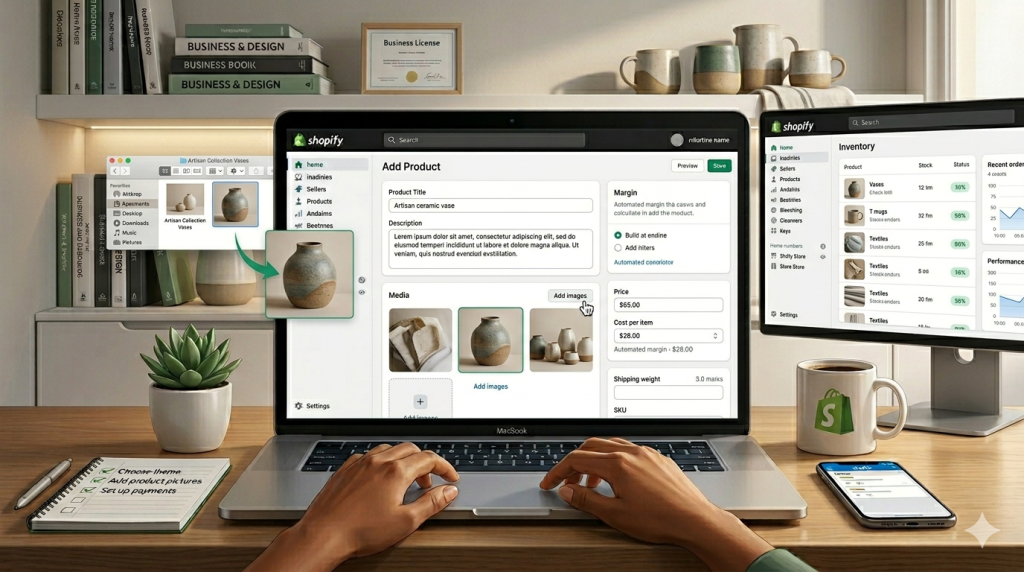
Go to Products → Add Product in your dashboard.
For each product, fill in:
Product title — Be specific. “Blue Cotton T-Shirt for Men — Oversized Fit” converts better than just “Blue T-Shirt.”
Description — Don’t just list features. Tell the customer how it improves their life. What problem does it solve? How will they feel using it?
Price — Set it and also add a “Compare at price” if you want to show a discount.
Images — This is where most beginners lose sales. Use clean, bright photos on a white or neutral background. Show the product from multiple angles. If you are dropshipping, don’t just use supplier photos — everyone else is using the same ones.
Variants — If your product comes in different sizes, colors, or styles, add them here instead of creating separate products.
SEO section at the bottom — Write a unique meta title and description for each product. This helps Google find your products.
Step 5: Set Up Payments
Go to Settings → Payments.
Shopify Payments is the easiest option — it’s built in, no extra setup, and lets you accept credit cards, debit cards, Apple Pay, and Google Pay instantly.
If Shopify Payments isn’t available in your country (it’s not available in Pakistan yet), you can use:
- PayPal — works worldwide, easy setup
- Stripe — requires a supported country or a Stripe Atlas account
- 2Checkout / Payoneer integrations — options for Pakistani sellers
Important: Test your checkout after setting up payments. Place a real order yourself to make sure everything works before you start sending traffic to your store.
Step 6: Set Up Shipping
Go to Settings → Shipping and Delivery.
You need to decide:
- Where will you ship? — Set up domestic and international zones separately
- How will you charge? — Free shipping, flat rate, or weight-based
- Which carrier will you use? — Shopify integrates with FedEx, UPS, DHL, and local carriers
Tip on free shipping: Offering free shipping above a certain order amount (like “Free shipping on orders over $50”) is one of the simplest ways to increase average order value. Customers will add more to their cart just to hit the threshold.
Step 7: Configure Taxes
Go to Settings → Taxes and Duties.
Shopify can automatically calculate taxes based on your customer’s location. For most beginners, turning on automatic tax calculation is fine.
If you are selling in the US, set your business location correctly so Shopify applies the right state taxes. If you are outside the US, check what VAT or GST rules apply in your country.
This is not the most exciting step, but getting it wrong can cause legal headaches later. When in doubt, talk to a local accountant.
Step 8: Connect a Custom Domain
By default, your store URL looks like this: yourstore.myshopify.com
That works for testing, but for a real business you need a custom domain like yourstore.com. It builds trust and looks professional.
Where to buy a domain:
- Namecheap — cheapest option, usually $8–$12/year for a .com
- GoDaddy — slightly pricier but very beginner-friendly
- Directly through Shopify — convenient but more expensive
Once you buy a domain, connecting it to Shopify takes about 5 minutes. Go to Settings → Domains → Connect existing domain, then follow the instructions from your domain provider.
Step 9: Install Apps (Only the Ones You Actually Need)
Shopify’s App Store has over 8,000 apps. It is very easy to get distracted and install 15 different apps that all slow down your store.
Start with just these essentials:
| App | What It Does | Cost |
|---|---|---|
| Loox or Judge.me | Product reviews with photos | Free plan available |
| Klaviyo | Email marketing | Free up to 250 contacts |
| Plug in SEO | Finds SEO issues on your store | Free |
| Tidio | Live chat for customers | Free plan available |
| DSers | For dropshipping from AliExpress | Free plan available |
Rule of thumb: Only install an app if you have a specific problem it solves. Every app you add slightly slows your store. Speed matters for both conversions and Google rankings.
Step 10: Test Everything Before Launch
Before going live, spend one hour going through this checklist:
Store basics:
- [ ] Logo and favicon uploaded
- [ ] Brand colors and fonts set
- [ ] All homepage sections filled in
- [ ] About page written
- [ ] Contact page added with a real email
Products:
- [ ] All products have titles, descriptions, and prices
- [ ] Product images are clear and high quality
- [ ] Variants are set up correctly (size, color etc.)
Checkout:
- [ ] Place a test order yourself — go through the full checkout
- [ ] Confirm payment goes through
- [ ] Check the order confirmation email you receive
Mobile:
- [ ] Open your store on your phone — does everything look right?
- [ ] Check that buttons are easy to tap
- [ ] Make sure text is readable without zooming
Most problems show up when you test on mobile. Fix those before anyone else sees your store.
Step 11: Remove Password and Launch
When your store is ready, go to Online Store → Preferences → scroll down to “Password protection” and turn it off.
Your store is now live.
Don’t wait for perfection. A lot of first-time store owners spend months tweaking their store before launching. The real learning happens after you launch — real customers will show you what actually needs fixing.
Step 12: Start Marketing Your Store
This is where most beginners get stuck — they launch their store and then wonder why no one is buying. Here is the honest answer: Shopify does not bring you customers. That is your job.
The best free traffic sources to start with:
Instagram and TikTok — Post short videos showing your products in real use. Not ads — just genuine content. This is how small stores blow up without spending a rupee on ads.
Pinterest — Massively underrated. Pin your product images and they keep driving traffic for months. Great for home decor, fashion, food, and lifestyle products.
Facebook groups — Find groups in your niche and become a helpful member. Don’t spam links. Build trust, then people will check your profile and find your store.
Google SEO — Write blog posts on your Shopify store about topics your target customers search for. This takes time but pays off long term.
Once you have some money to invest, run Meta ads — Facebook and Instagram ads are still the fastest way to get targeted traffic to a Shopify store. Start small — even $5 to $10 a day is enough to test what works.
Common Mistakes Beginners Make (Learn From These)
Picking a niche that’s too broad. “I’ll sell everything” is not a strategy. A store that sells pet accessories for small dogs will always beat a store that sells “all kinds of stuff.”
Ignoring product page SEO. Most beginners fill in the product title and price and move on. The meta title, meta description, and alt text on images are what Google uses to rank your product. Fill all of these in.
Copying competitor product descriptions word for word. This is a quick way to get penalized by Google. Even if you are selling the same products as someone else, write your own descriptions.
Not collecting emails from day one. Email is still the highest ROI marketing channel. Set up an email signup popup and start building your list from the first visitor.
Giving up after two weeks. Real Shopify stores take 3 to 6 months to gain traction. The ones that succeed are the ones that kept adjusting and improving.
Frequently Asked Questions
Is Shopify free to use? Shopify is not free, but they offer a 3-day trial and then $1/month for the first 3 months for new accounts. After that the Basic plan is $39/month.
Can I use Shopify from Pakistan? Yes, you can build and run a store on Shopify from Pakistan. The main limitation is payments — Shopify Payments is not available in Pakistan, so you would need to use PayPal or another supported payment gateway.
Do I need a business license to sell on Shopify? It depends on your country. In many places you can start selling as an individual and register your business later. Check the rules in your specific location.
How long does it take to set up a Shopify store? A basic store can be up and running in a few hours if you have your products ready. A polished, well-designed store usually takes 1 to 3 days.
Can Shopify work for digital products? Yes. You can sell digital downloads, courses, ebooks, and templates on Shopify using free apps like Digital Downloads.
What is the difference between Shopify and WooCommerce? Shopify is a hosted, all-in-one solution — easier to set up but you pay monthly. WooCommerce is a free WordPress plugin — more flexible and cheaper long-term but requires more technical knowledge to set up and maintain.
Final Thoughts
Shopify is genuinely one of the easiest ways to start an online business in 2026. The platform does the heavy lifting — hosting, security, payments — so you can focus on finding customers and growing your store.
The steps are straightforward. The real challenge is not the setup — it is picking the right products, understanding your customers, and consistently marketing your store.
Start with the free trial. Get your store live. Learn from real customers. Improve as you go.
That is how every successful Shopify store started.
Related Article: start-an-online-store





7 Responses
https://shorturl.fm/bsp07
The overall flow of this discussion feels smooth and approachable, making the content more interesting for different readers.
https://catechistaduepuntozero.it/
Thank you for providing such a objective perspective; it is always great to see a writer focus purely on delivering factual and objective information that genuinely helps the audience learn something new and useful.
https://dollyolive.co.uk/
This post provides a really helpful overview that covers all the necessary bases without any unnecessary opinion. I think anyone who stumbles upon this page will find a lot of value in your writing.
casino acceptant visa